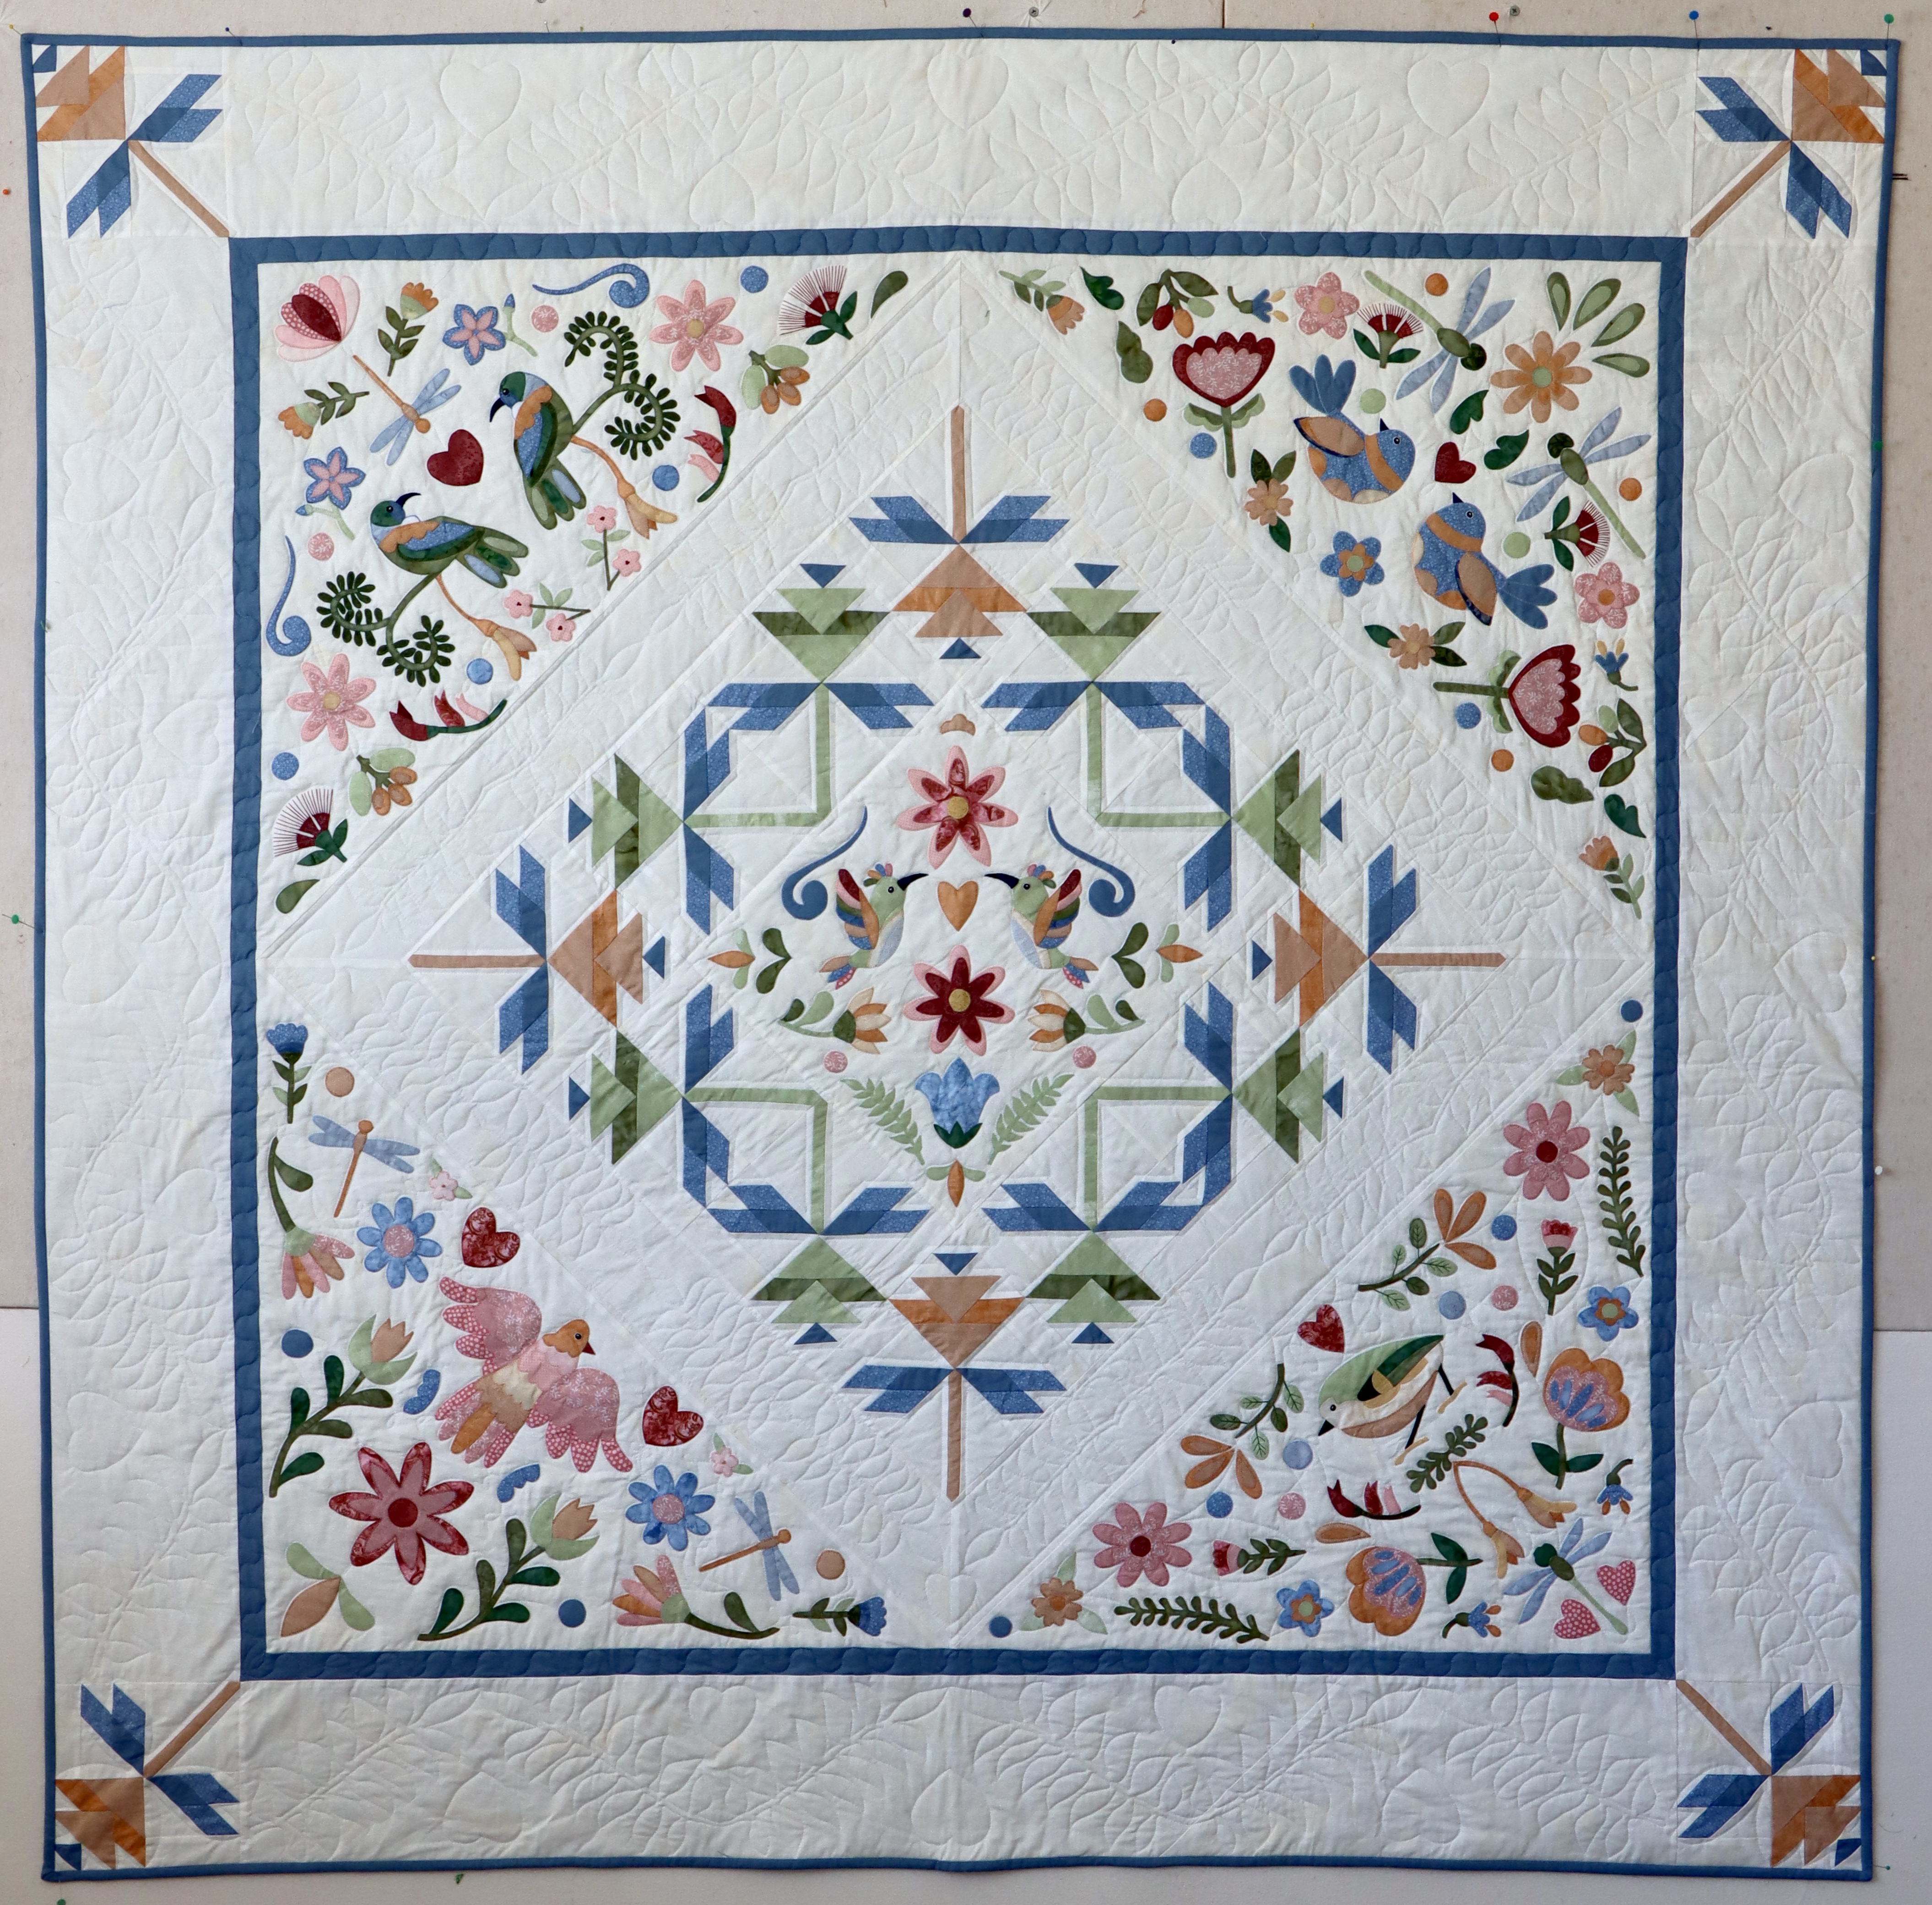
Following are notes taken by Sue Duffy from a Photographing artworks workshop with Pete Johnson , part of the Food For Thought Professional Development program for artists, Moreton Bay Regional Council.
I attended this workshop on 28th Aug, at the Bribie Is Community Arts Centre. It was very informative, and Pete had tips for photographing both 2D and 3D artworks. A brief outline is as follows:
Reasons for photographing your work:
- To have a documented record of your work
- For Competition entry – often need to send images on disc etc
- For a portfolio if applying for a grant, exhibition etc
- Internet – promotion
- To make prints of the work eg greeting cards, or on a canvas
- Insurance and valuation records
Taking photos of 2D artworksThe most important aspect is the light.
Unless you have a photographic studio, outdoors is best
A. Full Sun –
1. brings out colour intensity – gives most accurate colour reproduction.
2. washes out whites and blacks can appear grey.
3. Can have contrast issues.
4. Sunlight straight on to a picture tends to flatten out the texture – have the artwork positioned so that the sun is striking it from around a 45º angle – this will highlight the texture.
B. Open shade – avoid dappled – this light is flat
- colour will be duller
- texture is lost
C. Studio/indoors
- Use 2 lights angled 45º with even light output from both; camera and photographer need to be in complete darkness
- Using flash – reflects off glass if artwork is framed – to avoid this use a pivoting head flash with a camera that has a hot shoe on top (Usually SLR cameras) and bounce the light from a white surface eg ceiling or wall. Keep in mind that the Angle of Incidence of light = the Angle of Reflection, thus if the flash is fired at a 45º angle it will not be recorded in the photo. But best to turn the flash off! Especially with built in flash as it will also flatten texture.
- Artificial light – daylight fluoro lights are ok but it is flat light. Daylight bulbs
- The light temperature needs to be 5600 or higher to get good colour reproduction. Tungsten bulbs create a yellow caste over the photo; some cameras can adjust for this but you have to set it to do so.
- Make sure you have the camera parallel to the art work, and have all 4 sides of the artwork straight – vertically and horizontally – Use a tripod to help get the angle correct.
- Always photograph the work before framing it. (Glass and frame cause issues – reflections, shadows)
- No need to worry about the background or to fill the frame as you can crop the picture later on the computer. There are a number of cropping tools available with various software: Picture Manager in Microsoft Office, some software that is bundled with the camera software, Photoshop, or some free ones on the Internet: www.IrfanView.com and www.Paint.net
- Using a digital camera, to photograph an artwork that has no white or pure black in it, you need to take a photo with a small white card at the bottom of the frame, so that the camera has a reference point from which it works from. Take a photo with the card and crop it out.
- Have at least a 4 or 5 megapixel digital camera, to get the quality required.
- Printing To enlarge to poster size (A2) need to have around 6-8 MP.
3D Photography
Do not want backgrounds interfering with the artwork. For small objects, two poster size cards from the newsagent taped together and taped to the table and leaning up the wall, in a curve, is a quick and easy and cheap white background. Use white or silver poster size cards as reflectors to decrease the contrast between the dark and lit areas. This applies especially in full sun.
It is possible to use alfoil as a background especially in open shade but it might be tricky as it is very reflective.


